
Masking is a fun technique - if you have not tried the Masking Technique, I suggest you give it a try [ My Step by Step Masking Tutorial is below]- basically, it is pretty easy to put trees behind a snowman. Thanks for stopping by and have a blessed week~ Gail~
It would be an honor to share with these challenges:
Blessing Ink Anything Goes #2
613 Avenue November #191 AG #5
Glitter & Sparkle - For the Male in your life #3 [Suitable for a male or boy ]
Simon Says Monday - Shine Bright Like A Diamond #3 - [A Wink of Stella/Gold Glitter Ribbon]
STAMPlorations Theme or Sketch - stamps and 3 of anything - 3 layers 2 snow and ribbon [3 of 6]

CHN Weekly Christmas November
PDE Day Challenge 1 per day
Pile It On - scraps of white cardstock for the Snow
Sunny Day Crafting AG 1 per day
DLARTThankful Thursday Linky 1 per day
Masking Tutorial by Gail Scott
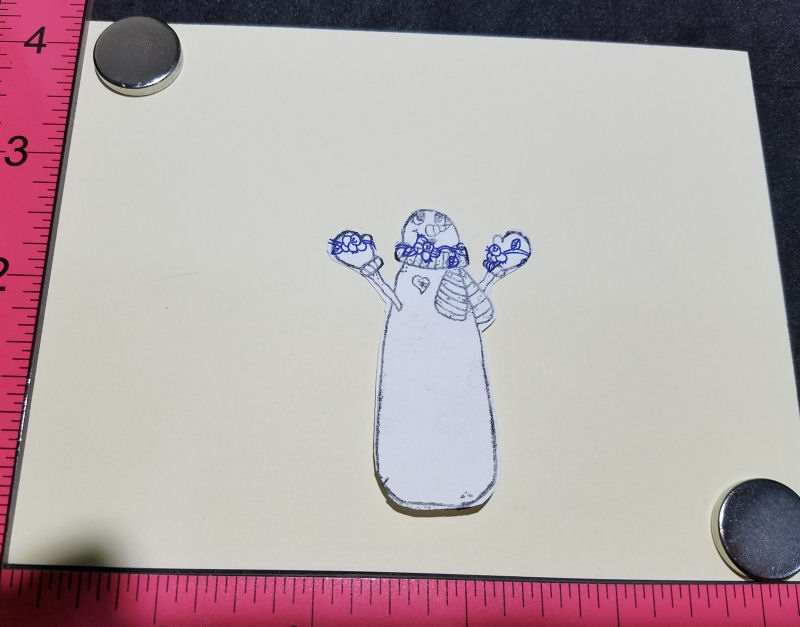
Step one - Stamp your image on your card base - I used a Snowman Stamp

Step 2 - Stamp the image again on A Post-It-Note or Masking Paper - I used a post it note.

Step 3 - This photo shows my post it trimmed snowman image is laid on top of the stamped snowman image on my card base. There is Sticky at the top of the Post it note to hold the image in place while stamping the trees. [Note - If you use Masking Paper - the entire paper has sticky behind it and will lay very flat - however I was careful with using my Post-It-Note so it worked for me.]
Step 4 - Select the image you want behind your image. For my card, I am stamping trees in the background, so I have a clear Tree Stamp as show in this photo. I placed the tree stamp directly on top of my Post It Note in my Misti - then I will ink up the Tree and stamp over the Snowman. This will place a tree behind my Snowman image - super cool - isn't it - and think of other backgrounds you could create such as a fence. Continue stamping across the page using the same tree stamp.

Step 5 -This photo shows the stamped tree image on top of the Post It Note Snowman and then I moved the stamp to the right to stamp another tree without re-inking - when stamping the second time without re-inking - will give you a lighter effect of a tree. My results will be shown at the final photo.

Step 6 -This Photo shows additional tree stamping to the left of the Snowman with the Post-It-Note still in place.

Step 7 - I added a different tree stamp to the left - this tree has a star on the top - so you can switch up your images in the background if you wish - ]notice that I have removed the Post-It Note so you can see the Snowman with the trees behind it.] However, I replaced the Post -It-Note to continue adding trees in my background image as you will see in the next photo of my finished card.

 Step 8 - Here is my finished card - I have 6 stamped trees of the same tree clear stamp - and one stamped tree with the star. Masking is a FUN technique and really does not take that long to do - just use your imagination - I added A Wink of Stella to the trees, Snowman Scarf and Star to give it some shine as well as the 2 sequins and a strip of gold glitter ribbon. See Recipe
I hope this tutorial was helpful and simple for you - have a blessed week ~ Gail ~
Recipe
Manila Cardstock for base of card
Post-It-Note for Masking
Gold Glitter Ribbon
MFP Winter Tree and Snowmen Stamps & Christmas Sentiment
2 Sequins for snowman buttons
Spectrum Noir Markers for coloring
Snow - Elizabeth Crafts border Die- scraps of White Cardstock for the snow layers
A Wink of Stella on the nose, scarf, star, and pine trees
SU/Memento/Rangers Inks
Misti for stamping
Thanks for the tutorial and for this lovely project! So nice of you to share with us here at 613 Avenue Create!
ReplyDeleteHugz,
Chana, Owner
What a wonderful card.
ReplyDeleteHugs
Kuni
my new challenge blog start on the 10. november and i hope to see you.
http://sweetstamperschallenge.blogspot.de/
Thanks for the fabulous tutorial Gail, the pictures are very helpful.
ReplyDeleteYour card is very cute, I love the jolly snowman you used... he sure looks like a happy soul! The trees in the background are wonderful and I love the addition of the snow drifts at the bottom of the card. Well done.
Cheers,
Beccy
I like your masking tutorial. You created a nice scene. Thanks for joining our challenge at 613 Avenue Create.
ReplyDeleteSuper cute!!! Thank you for joining us at PDE Linky Party, good luck!!! Amy DT
ReplyDeleteAnother gorgeous project and another pretty winter scene ~ this is lovely! Thank you once again for sharing your work and playing along with us over on the Simon Says Stamp Monday Challenge Blog... :)
ReplyDeleteAnother fun card, thanks for sharing your masking technique.
ReplyDeleteElaine (GDT STAMPlorations)